Streamlit UI#
We provide a Streamlit UI implementing a WebSocket client to communicate with the agent.
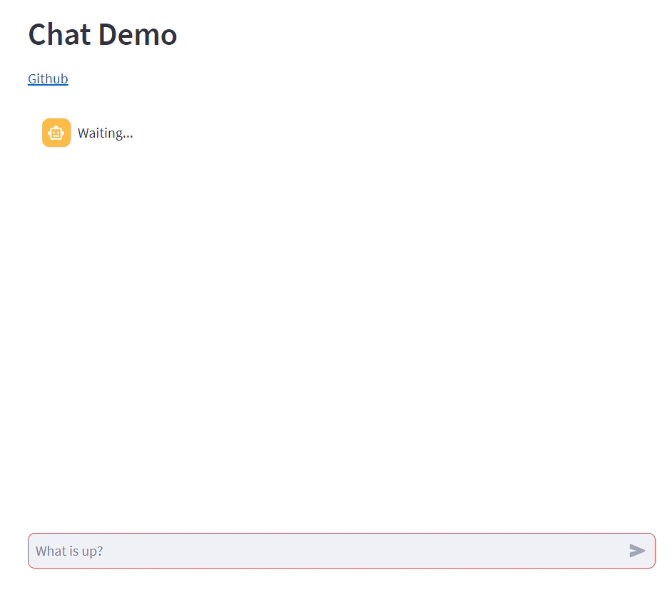
This is how our agent UI looks like:
How to use it#
You can run it directly from the agent, by setting it in the websocket_platform:
agent = Agent('example_agent')
...
websocket_platform = agent.use_websocket_platform(use_ui=True)
Or you can also run it separately. Just open a terminal on the streamlit UI directory, and run:
streamlit run --server.address localhost --server.port 5000 streamlit_ui.py agent_name localhost 8765
Enabling session persistence#
To enable session persistence when using the Streamlit UI, you first need to have the monitoring database running and configured in your agent. Secondly, you’ll need to configure a streamlit database connection in the agent configuration file with the properties described in Streamlit_Database. Note that, the streamlit database and monitoring database can be the same.
Finally, you need to set the authenticate_users=True parameter when initializing the WebSocket platform:
   agent = Agent('example_agent', persist_sessions=True)
   ...
   websocket_platform = agent.use_websocket_platform(use_ui=True, authenticate_users=True)


This allows the platform to authenticate users and maintain their sessions across agent restarts.